I breadboarded on the prototype board I made on Project day #3 if you haven't seen it yet you can check it out here
Parts needed

- 100k resistor
- 2 leds
- jumper wire
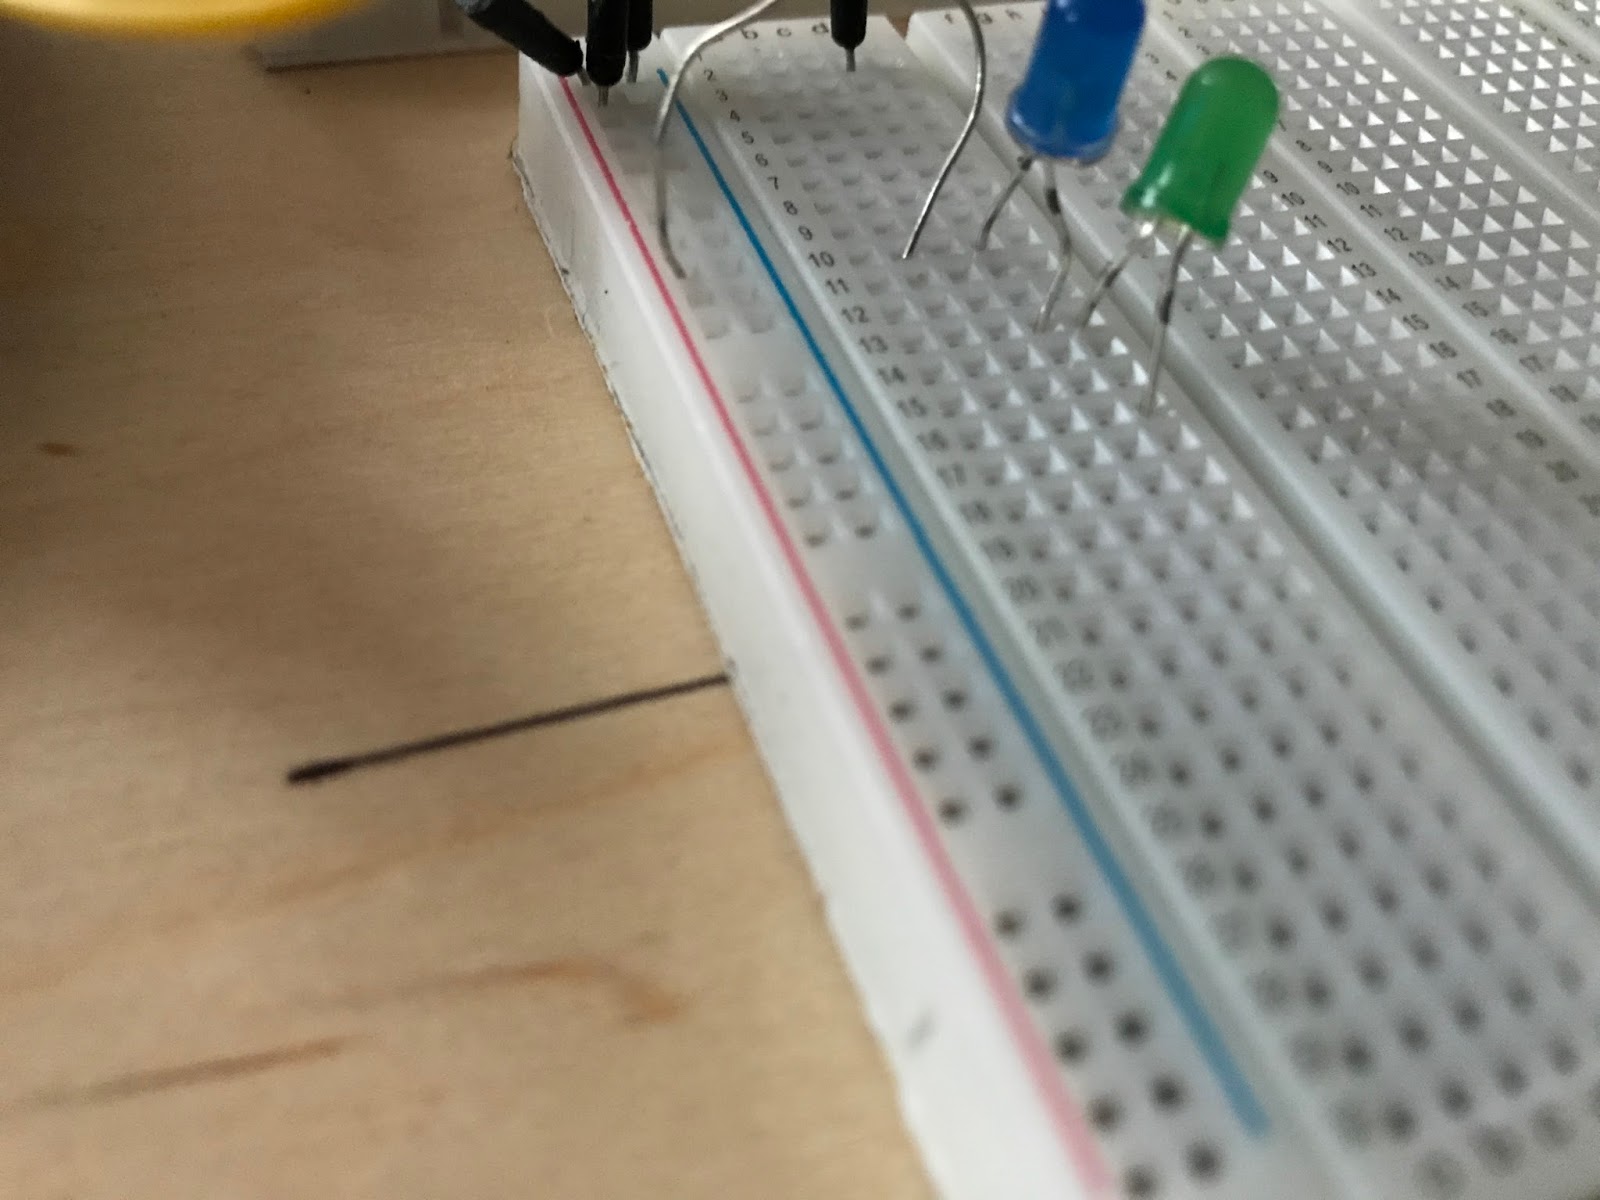
Step one
Connect the 100k resistor to the + rail of the board and the other end to an empty row on the board

Step two
Connect the anode of the first led to the resistor

Step three
Connect the anode of the second led to the cathode of the first
Step four
connect a jumper wire to the cathode of the second led and the other end to the - rail of the board

Step Five
power the board if everything is connected right the leds should light up

Fritzing Layout


this is the same circuit as I used on yesterdays bottle light click here to check it out
Dobby

No comments:
Post a Comment