Good afternoon folks and welcome to another Project day this weeks project is a flexible light
Why I made this project
I made this project to give a small flexible light that I could use in tight spaces and with my helping hand project that I made in Project day #6 also because I wanted to use up a car head light blub
Parts Needed
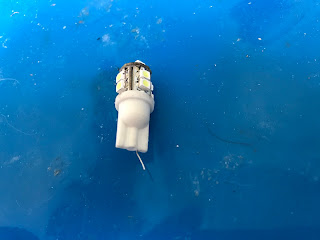
- a led car head light blub
- a switch
- a 12v battery holder and battery
- a flexible coolant pipe
- a project box
Step one
To start is to dismantle the car head light this is done my straitening the leads out and twisting the plastic cover at the bottom of it
Step two
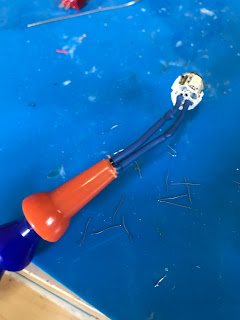
Now solder two lengths of wire onto the led bulb and then feed the wire into the coolant pipe
Step three
It's now time to drill two holes into to the top plate of the project box one for the coolant pipe (12mm) and another for the switch (6mm)
Step four
Fit the switch and coolant pipe into the top plate
Step five
solder the wire coming from the positive lead of the led to the switch
Step six
solder the positive lead of the battery pack to the switch
Step seven
Join the negative wires of the led and battery pack together
Step eight
Connect the top plate to the bottom and the project is finished
How I could make this better
I'd like to make this bigger with a few more lights and make it powered from the mains as well as the battery .


No comments:
Post a Comment